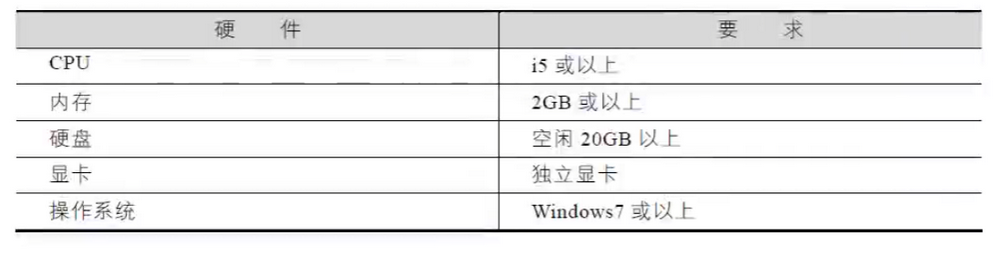
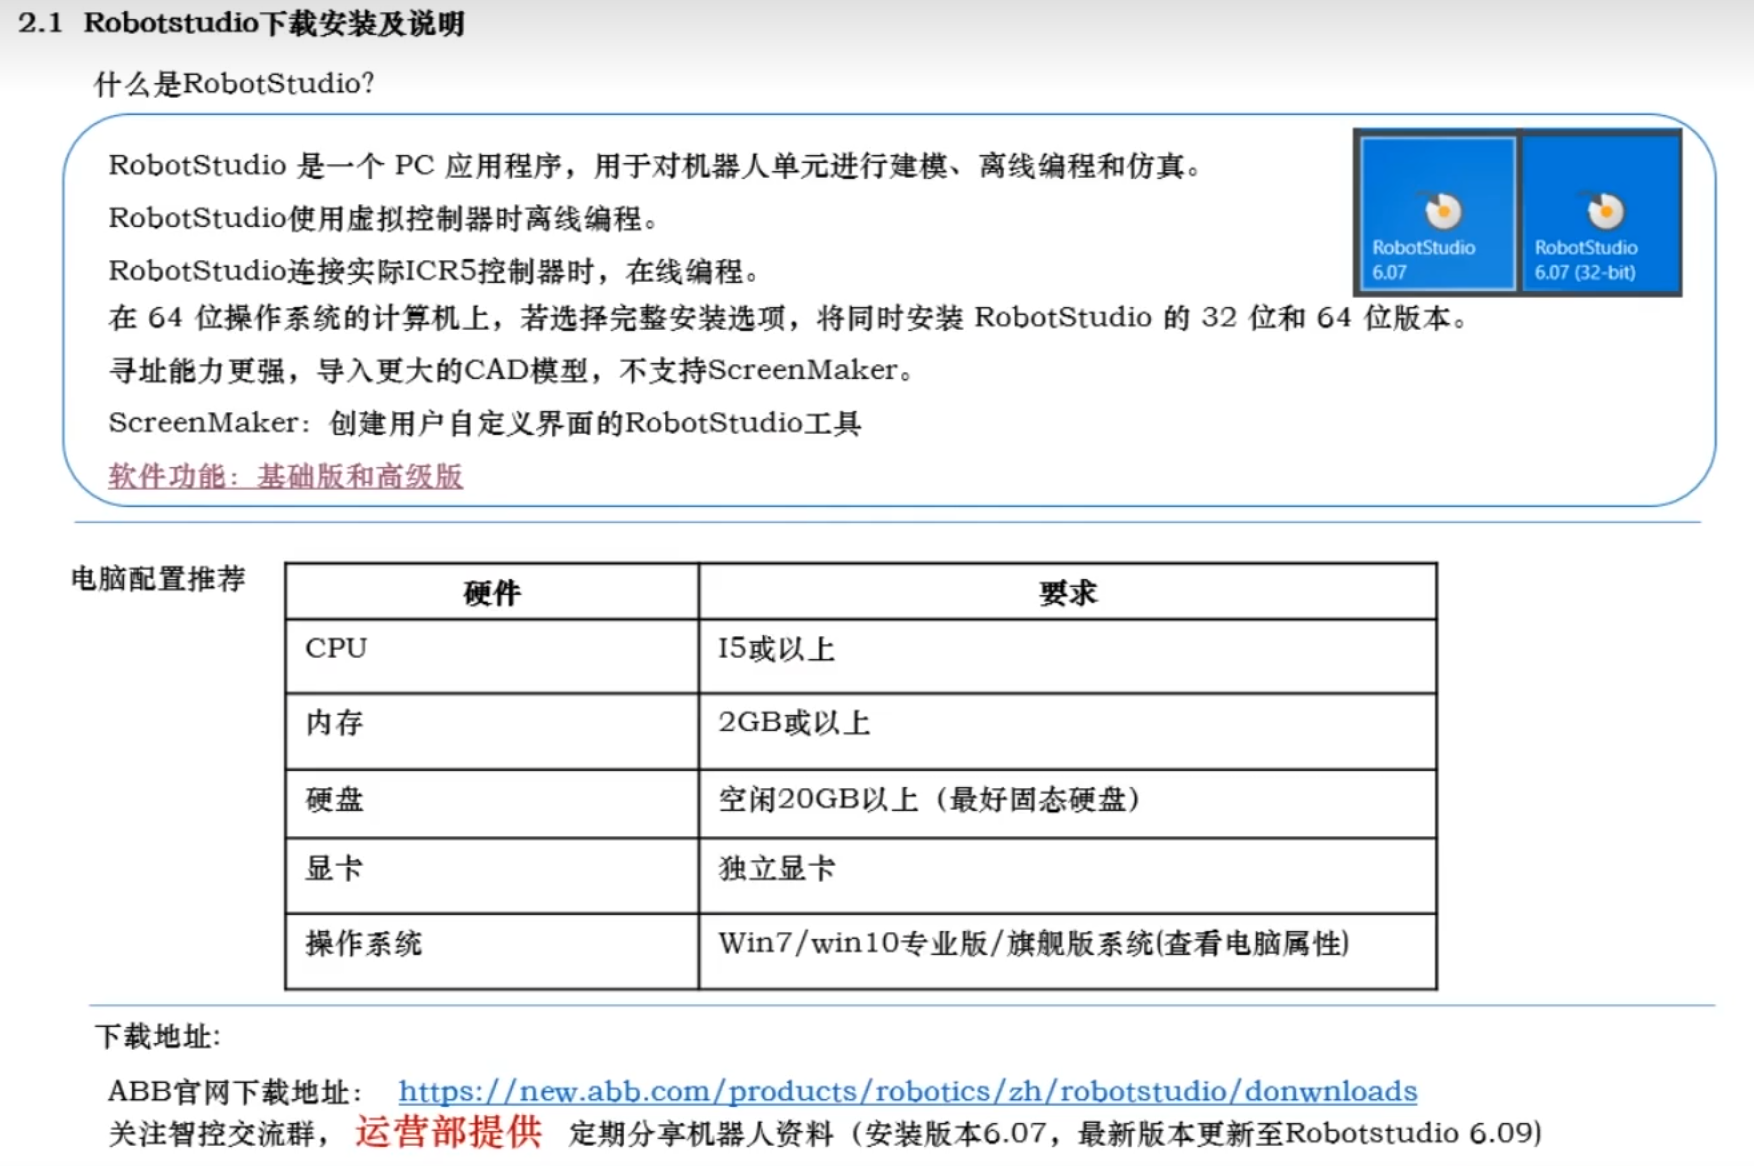
ROBOT STUDIO 6安装要求
下载地址https://new.abb.com/products/robotics/robotstudio
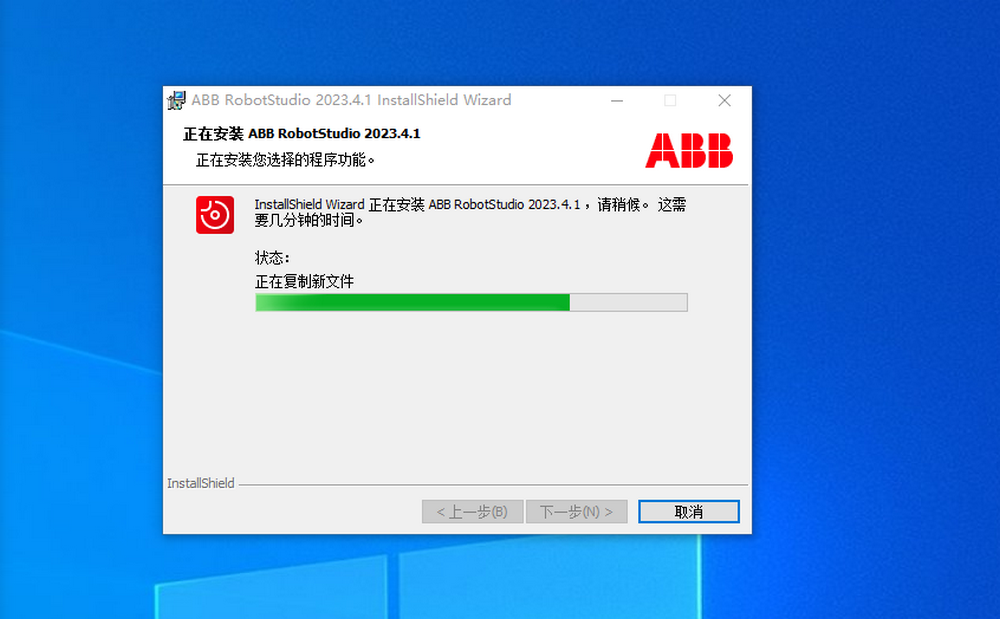
安装都按照默认的路径安装,并且不能有中文字符,防火墙也要关掉。
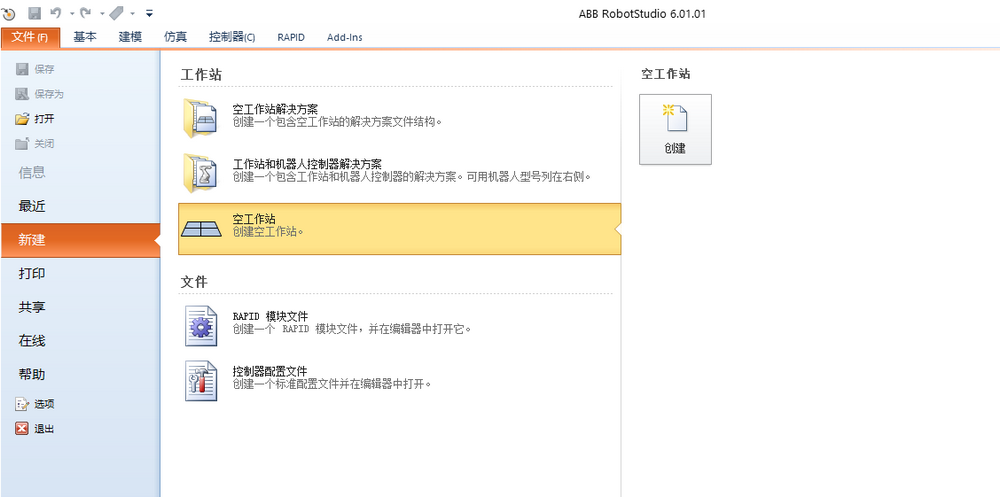
首次安装完以后是有全功能的30天的试用期。那怎样创建一个机器人系统呢?创建一个空的工作站
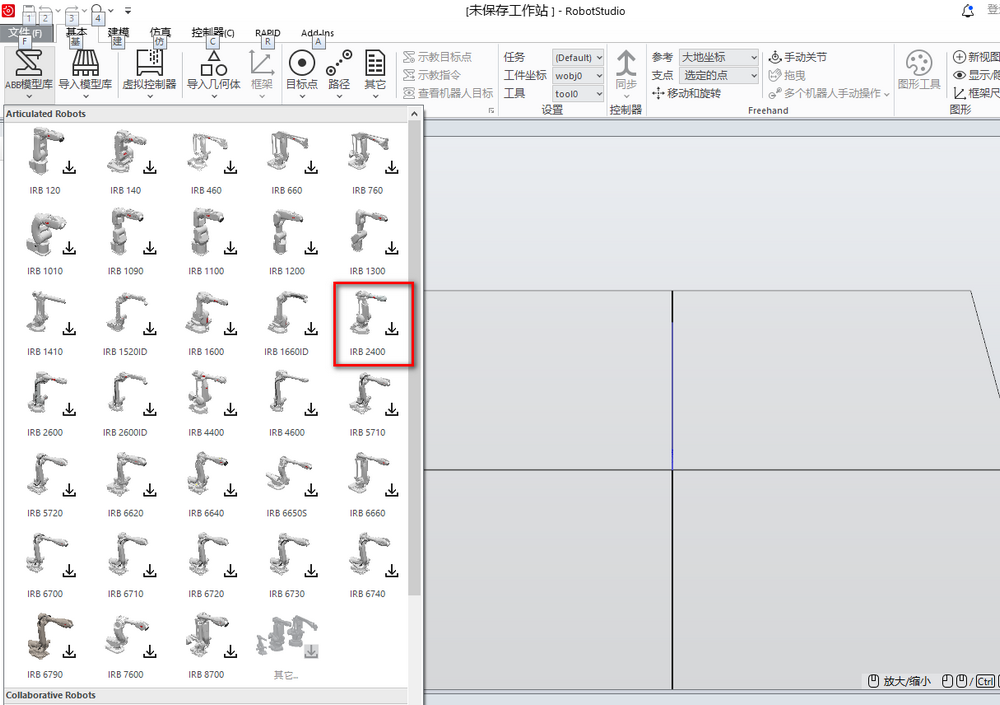
在基本菜单中选择ABB模型库选择一款机器人,如IRB2400
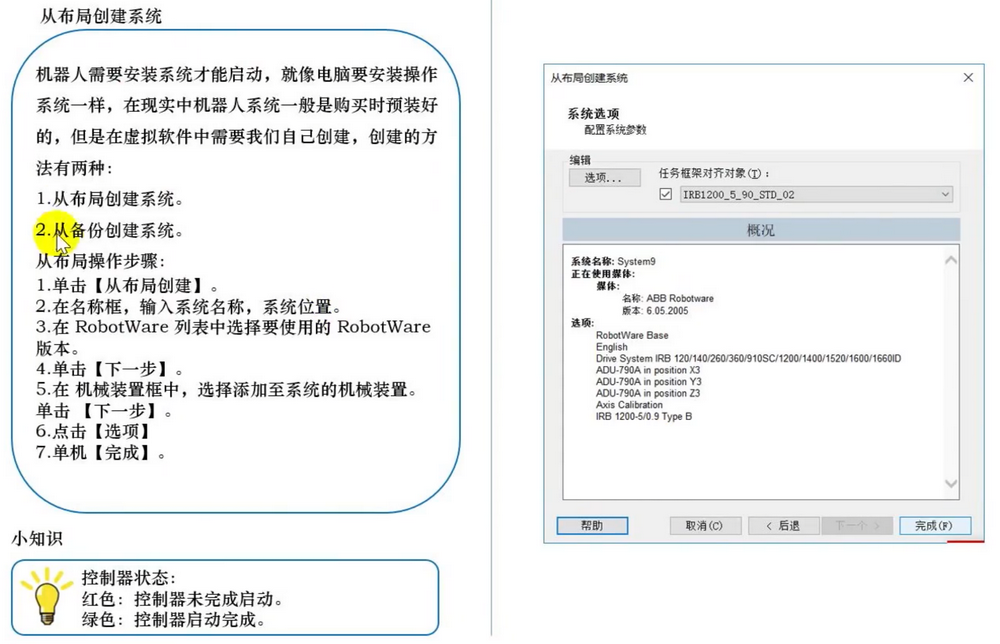
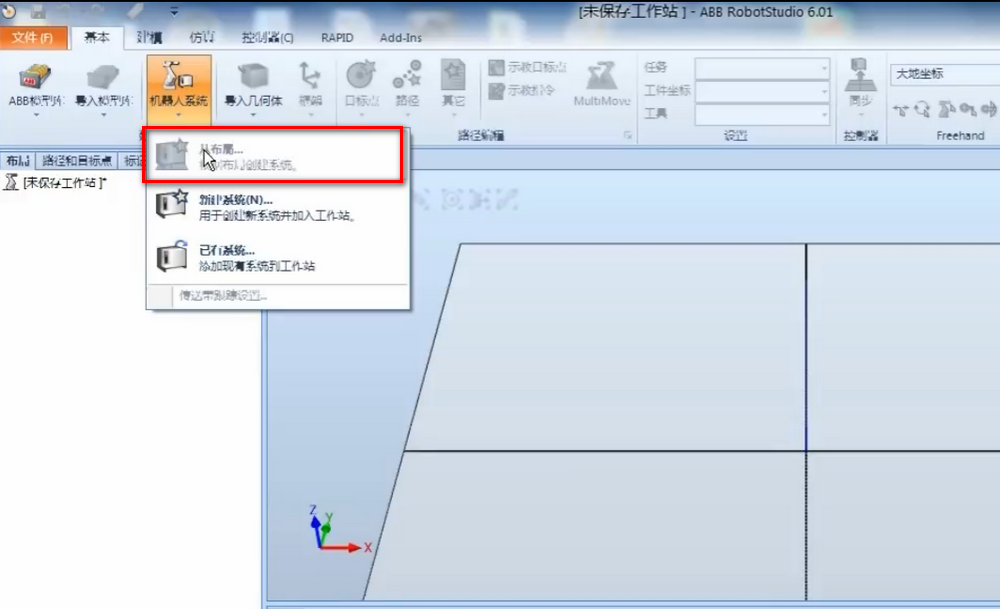
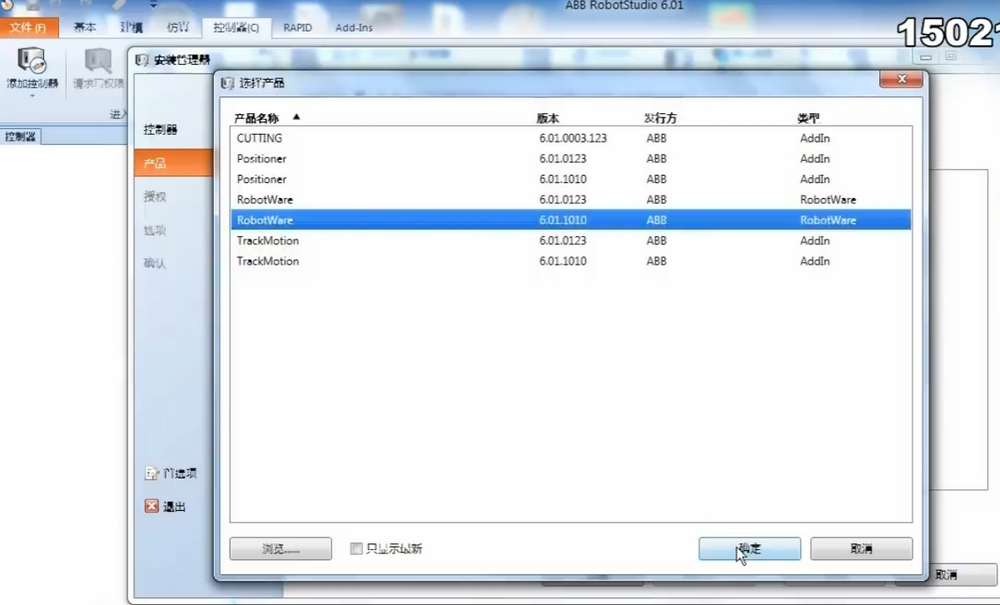
点击机器人系统——从布局,RobotWare选择最新版6.01
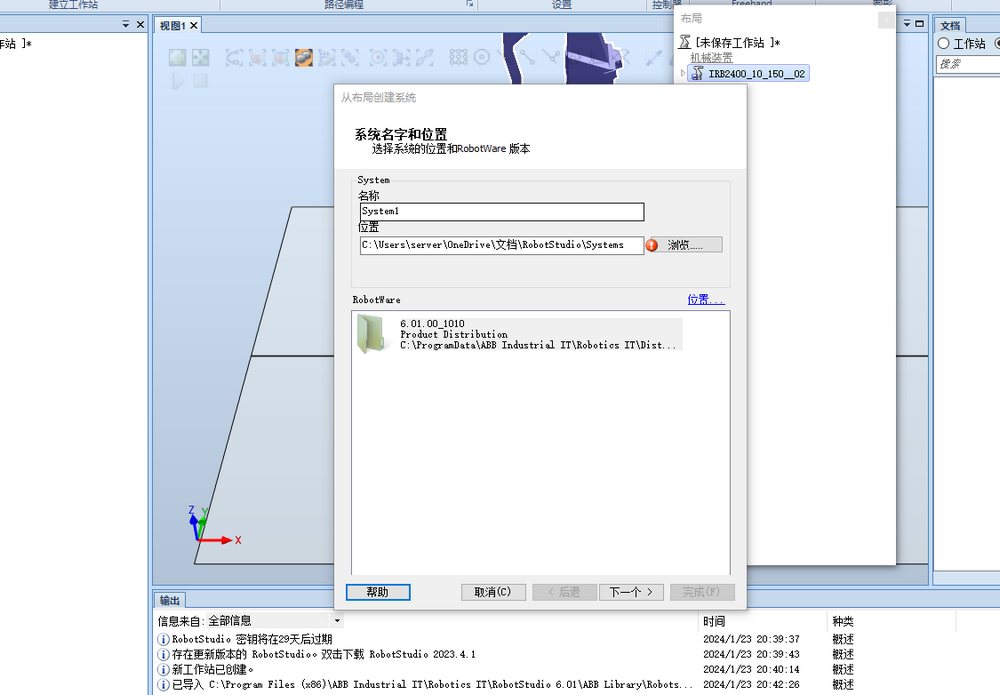
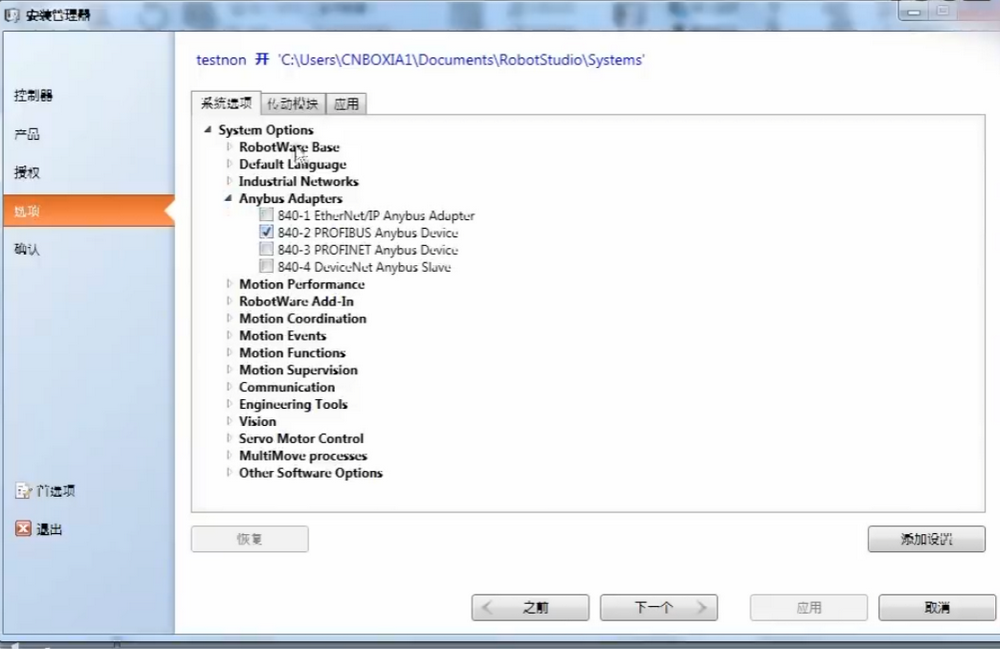
在出现的选项中选择语言和板卡。是使用DeviceNet协议的。

在路径中不能有中文字符否则的话添加布局不能成功。

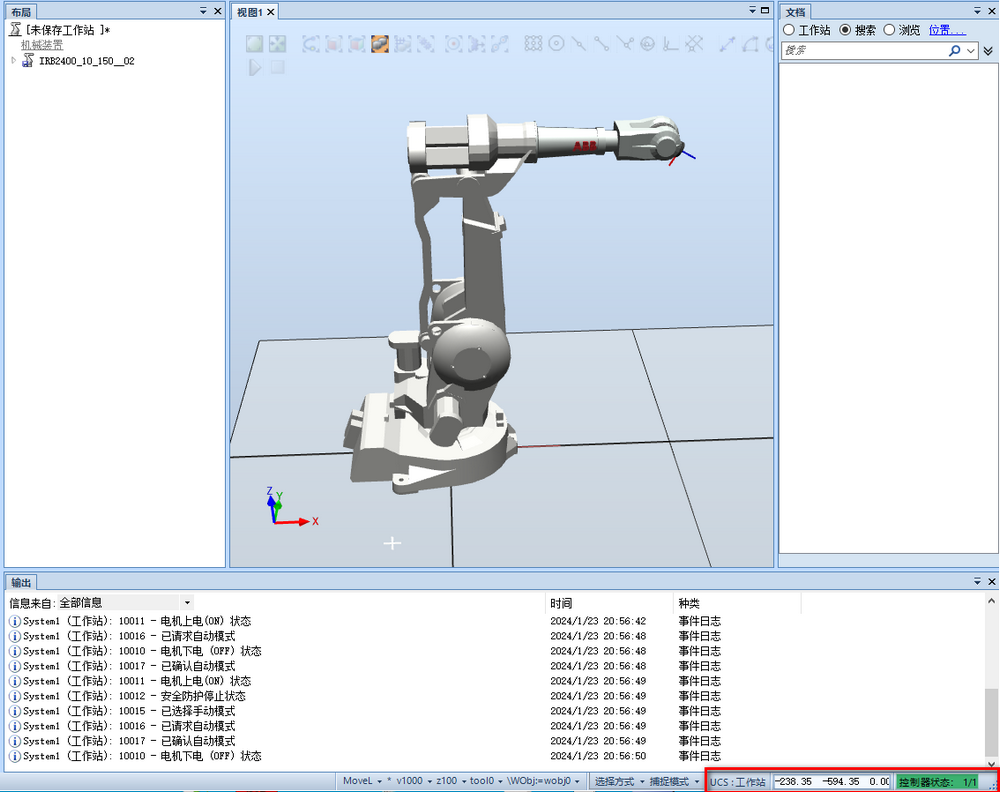
当控制器的状态显示为绿色表示创建机器人系统成功并运行。
选择控制器——示教器——虚拟示教器,在出现的菜单中选择控制面板。
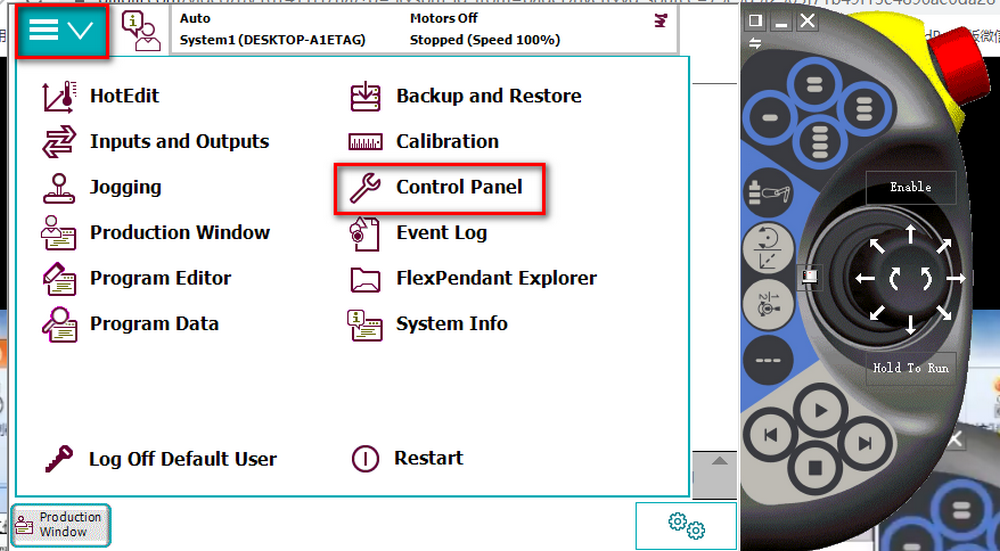
点击手动自动转换将其转为手动模式。
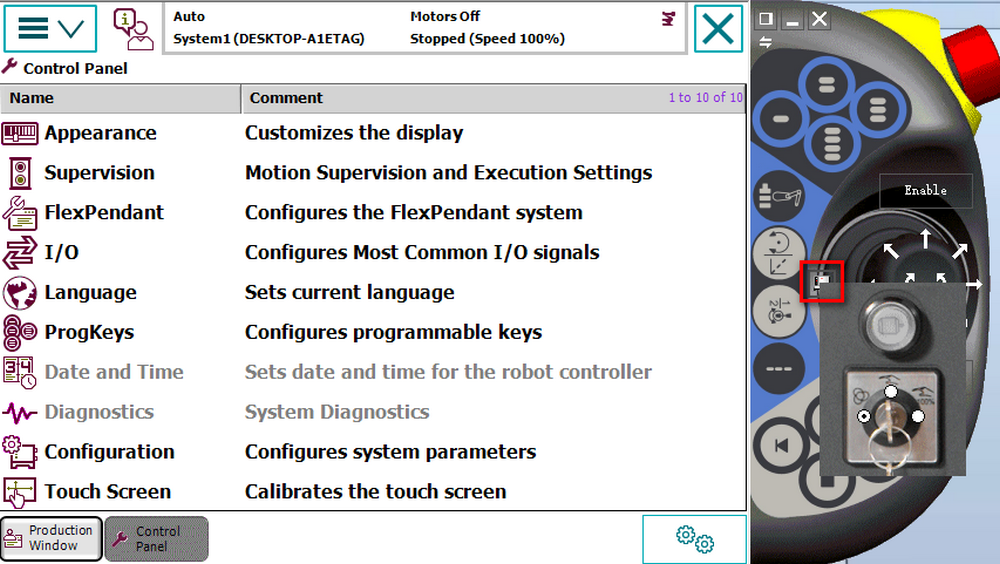
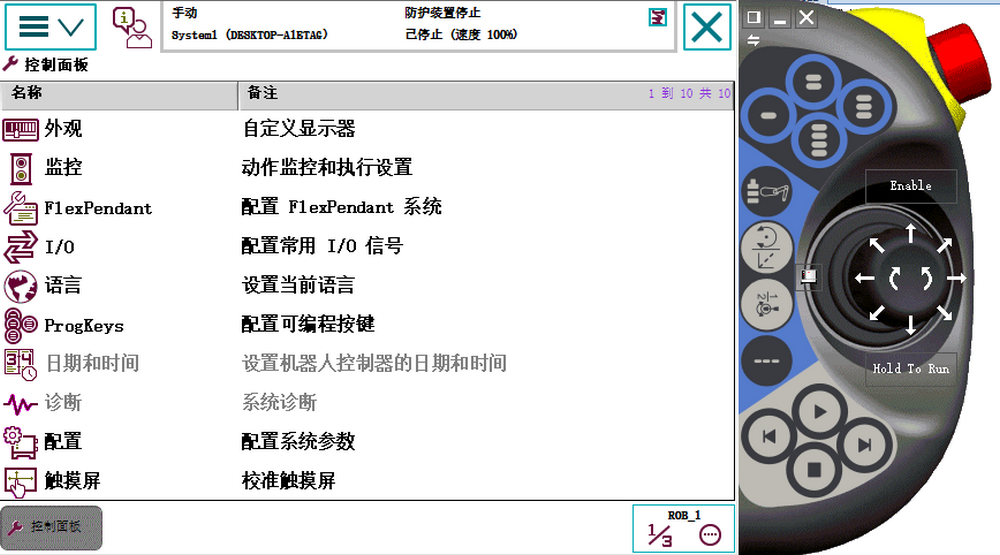
点击Sets current Language按钮将其设为中文,
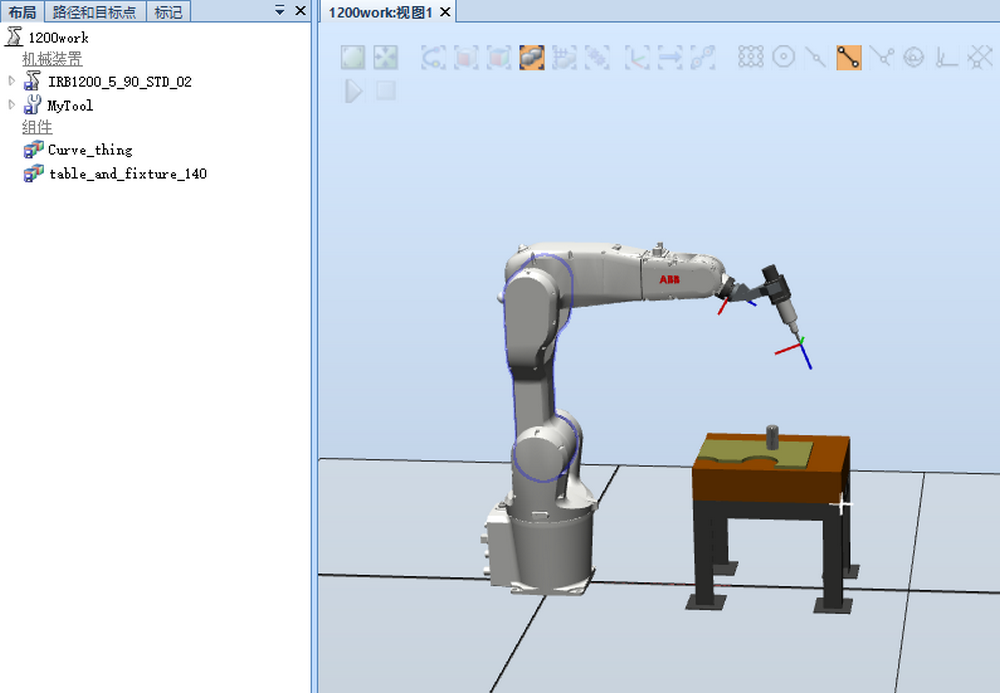
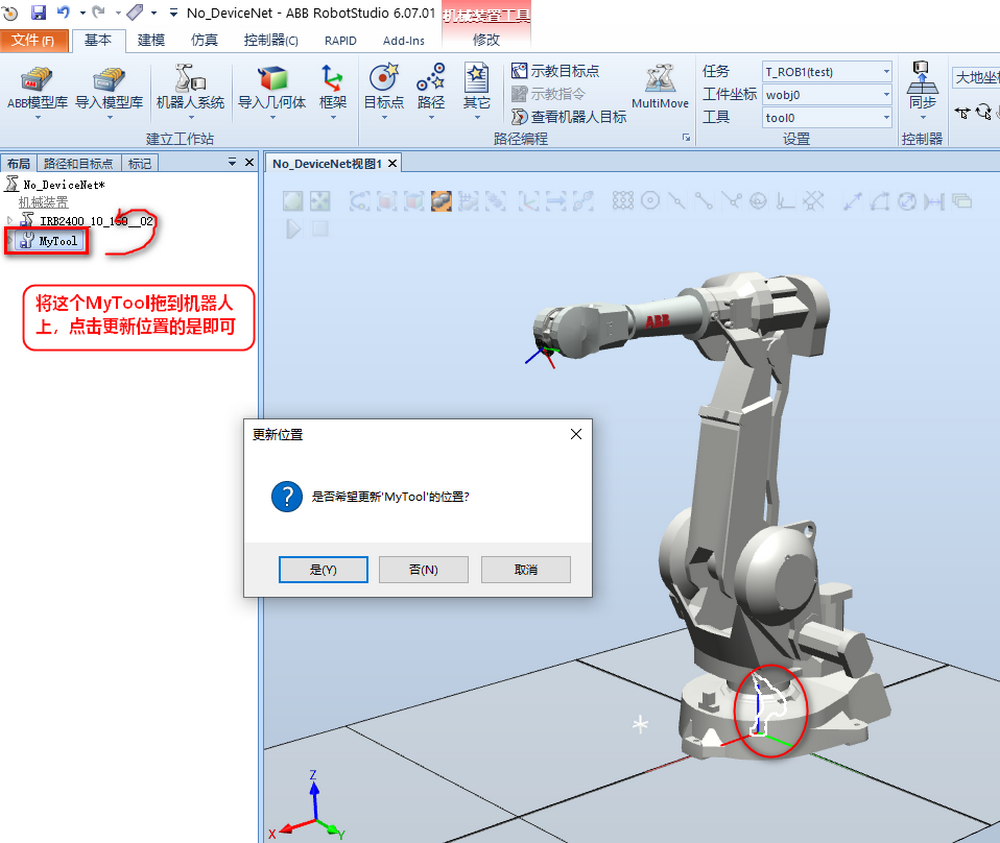
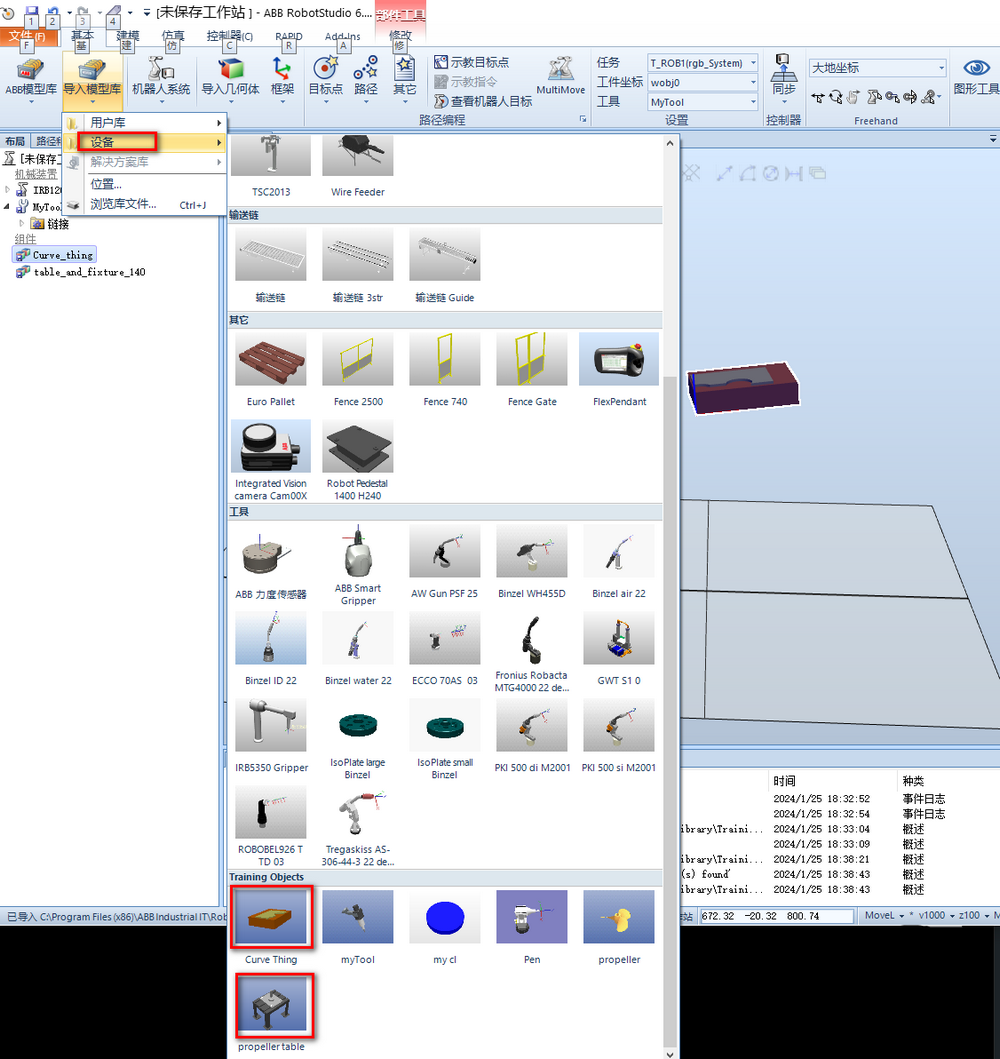
点击导入模型库—-设备—-Training Object选择MyTool,将MyTool将放到机器人上即可。
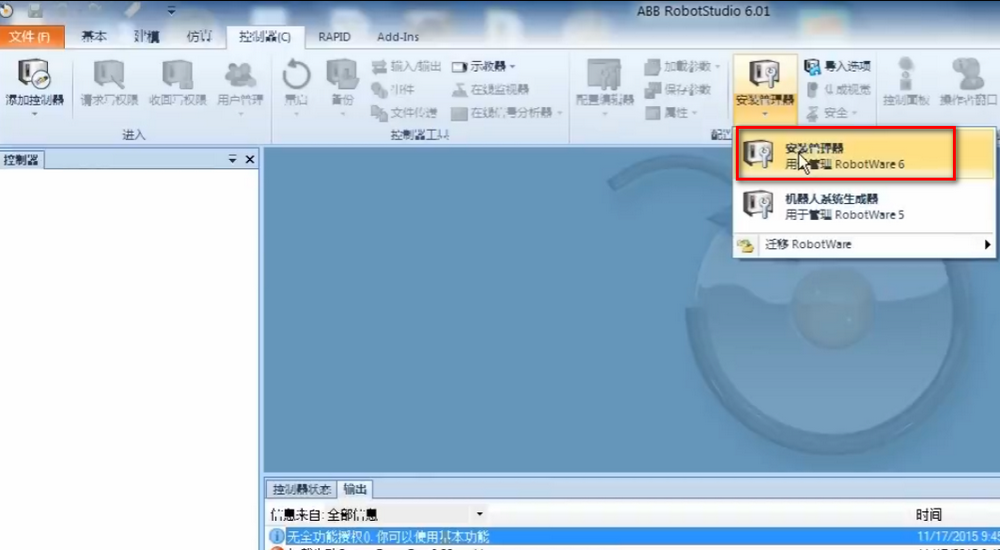
当RobotStudio软件超过30天试用期后,打开机器人系统—-是无法从布局…来操作的。
那怎样在无授权版只有基本功能的系统中创建机器人系统。当在输出时显示”无全功能授权,你可以使用基本功能”信息时。
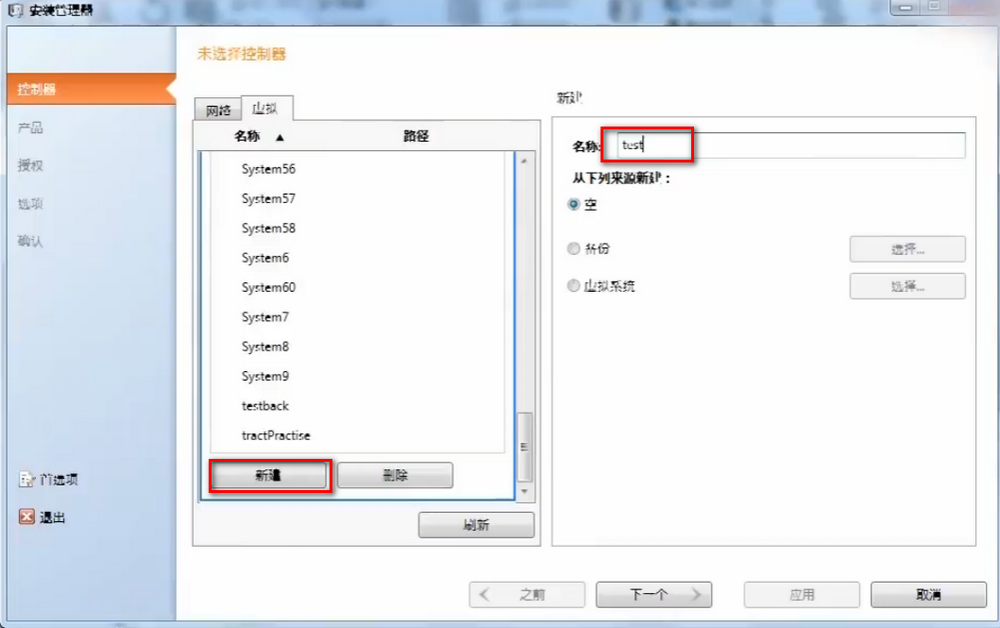
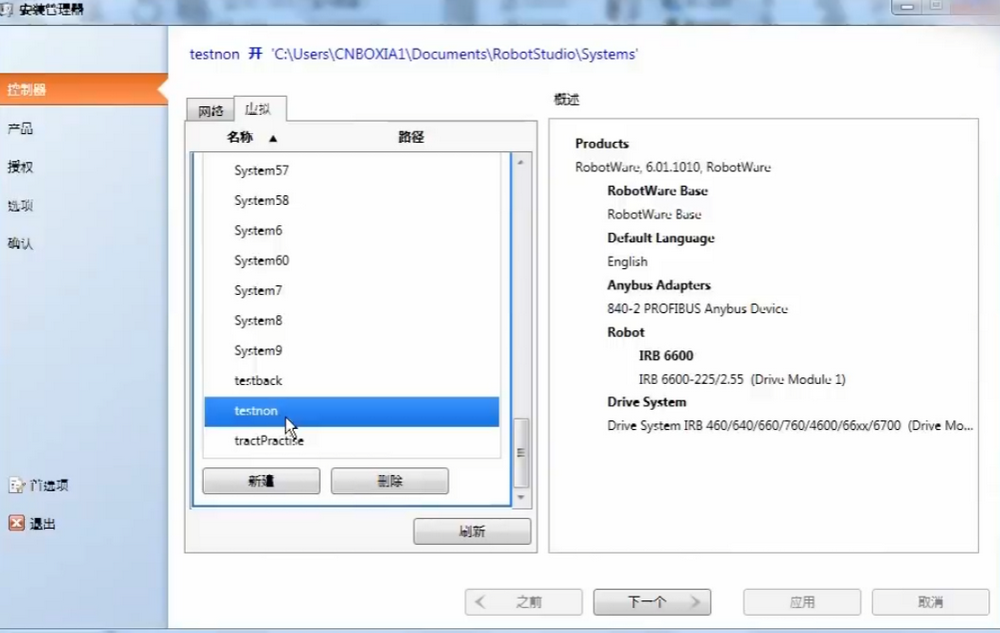
在出现的安装管理器窗口中,点虚拟将拉到最底部,点新建,创一个名称。

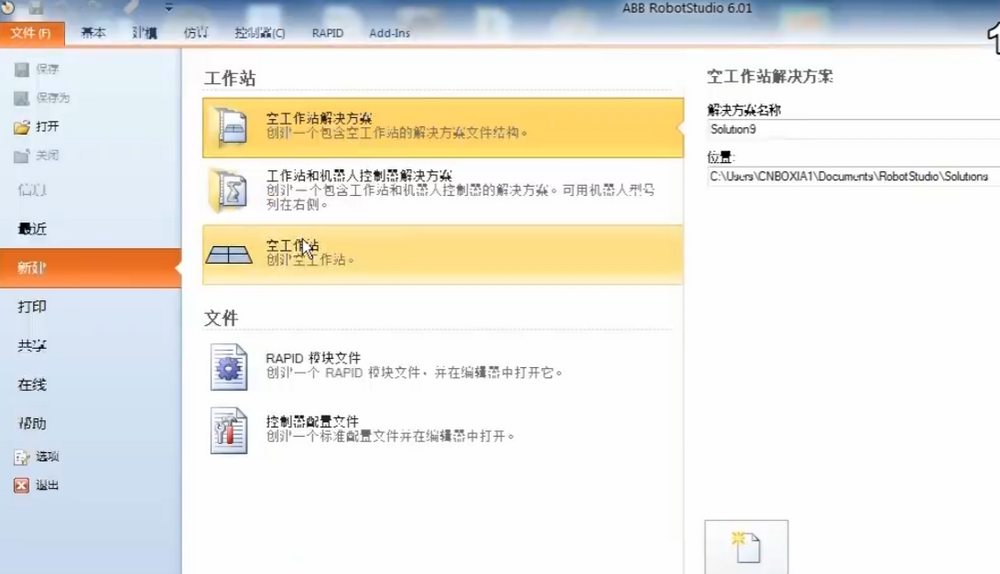
此时点击创建一个空工作站。
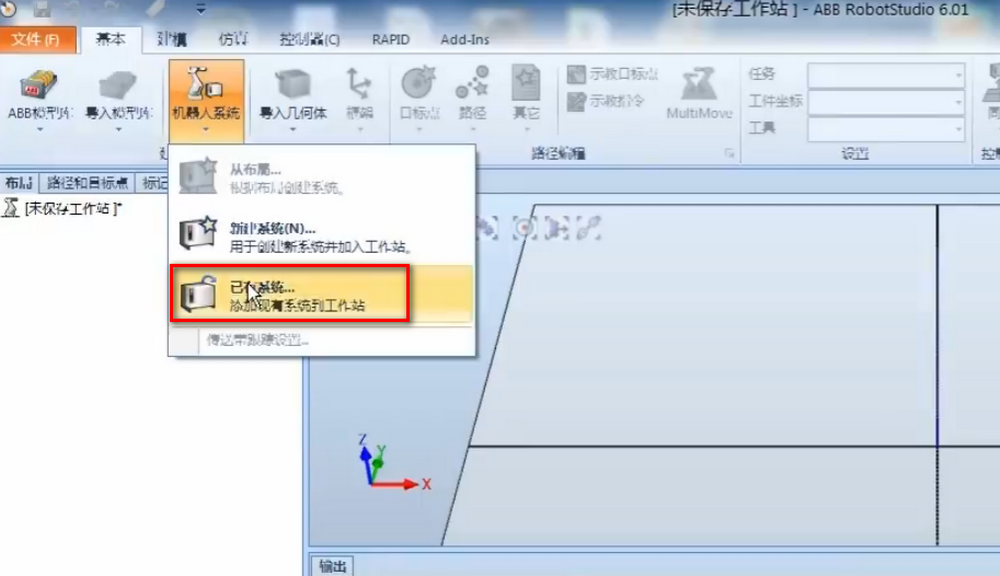
在机器人系统中选择已有系统。
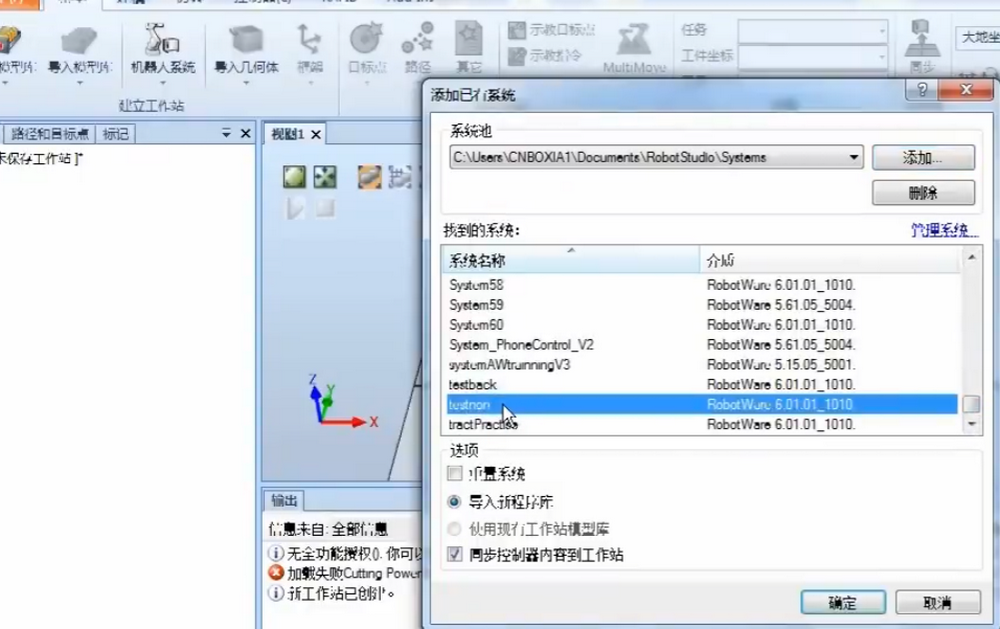
找到刚才新建的系统。
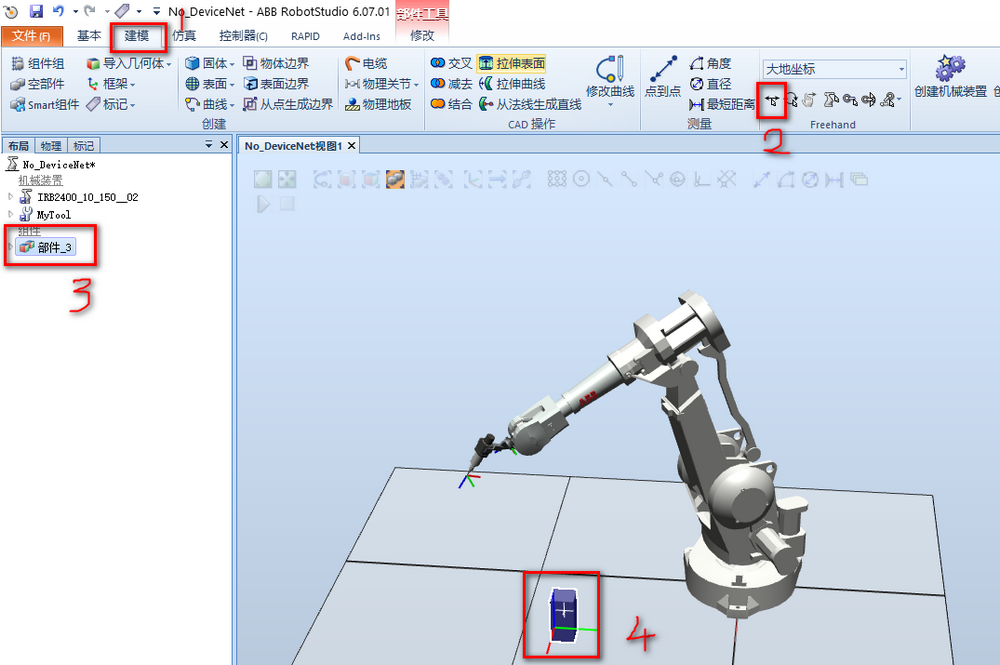
如果要时行建模,可以点击菜单栏中的建模—-固体–矩形体输入长宽高信息就可以创建了,如果要对部件进行移动,点击移动,就可以拖箭头进行移动了。
操作快捷键:shift+ctrl+鼠标左键,旋转机器人视角,ctrl+鼠标左键,平移工作站;点工作站一点,推动鼠标滚轮放大或缩小。
在导入模型库中桌子和台面。
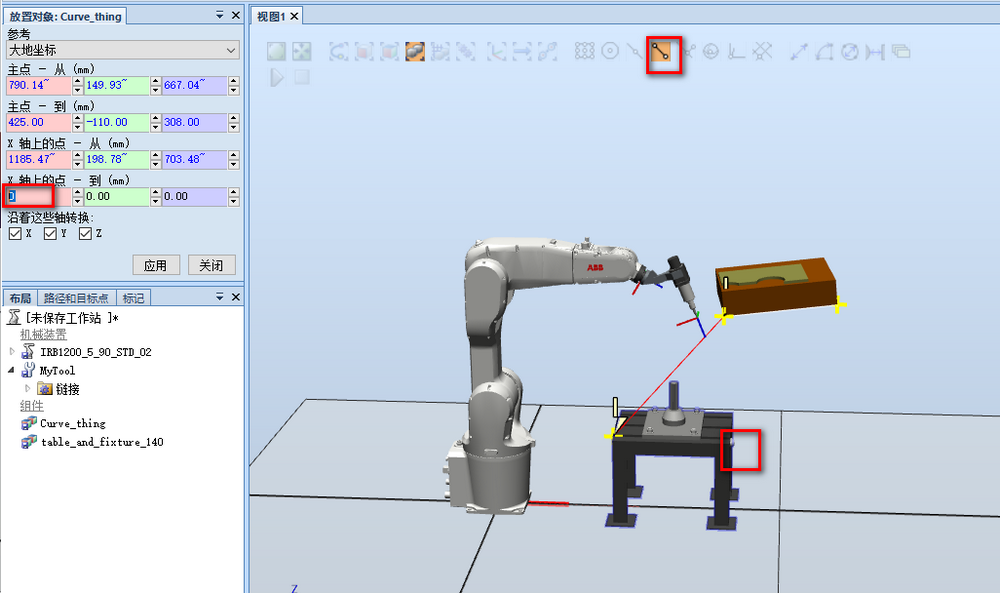
台面怎样与桌子对齐摆放呢。在台面组件上右击—-位置—-放置—-两点。

在选择捕捉末端按钮。这样就将工件放到台面上了。